Follow the below steps to add Voonik as a channel in Browntape:
- Log in to your Browntape account
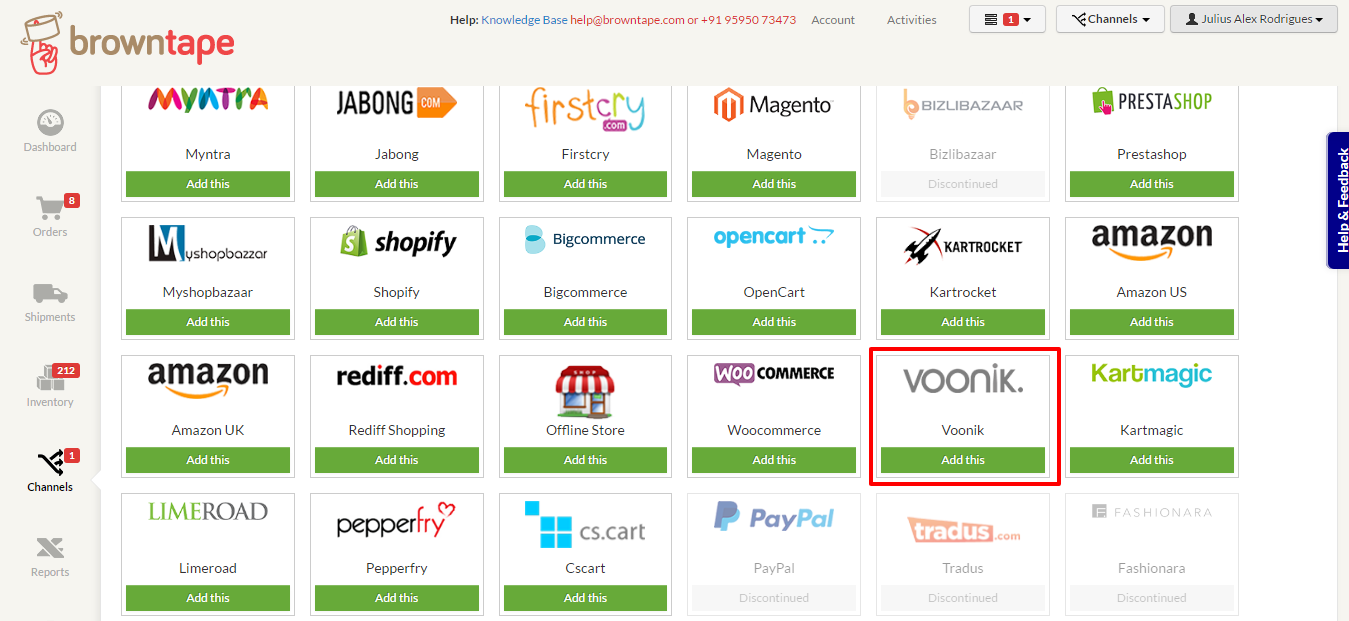
- Click on ‘Channels’
- From the list of supported channels, under the Voonik icon, click on ‘Add this’
- Enter your Voonik login ID and Password and Click on ‘Add channel' to add the Voonik channel to Browntape

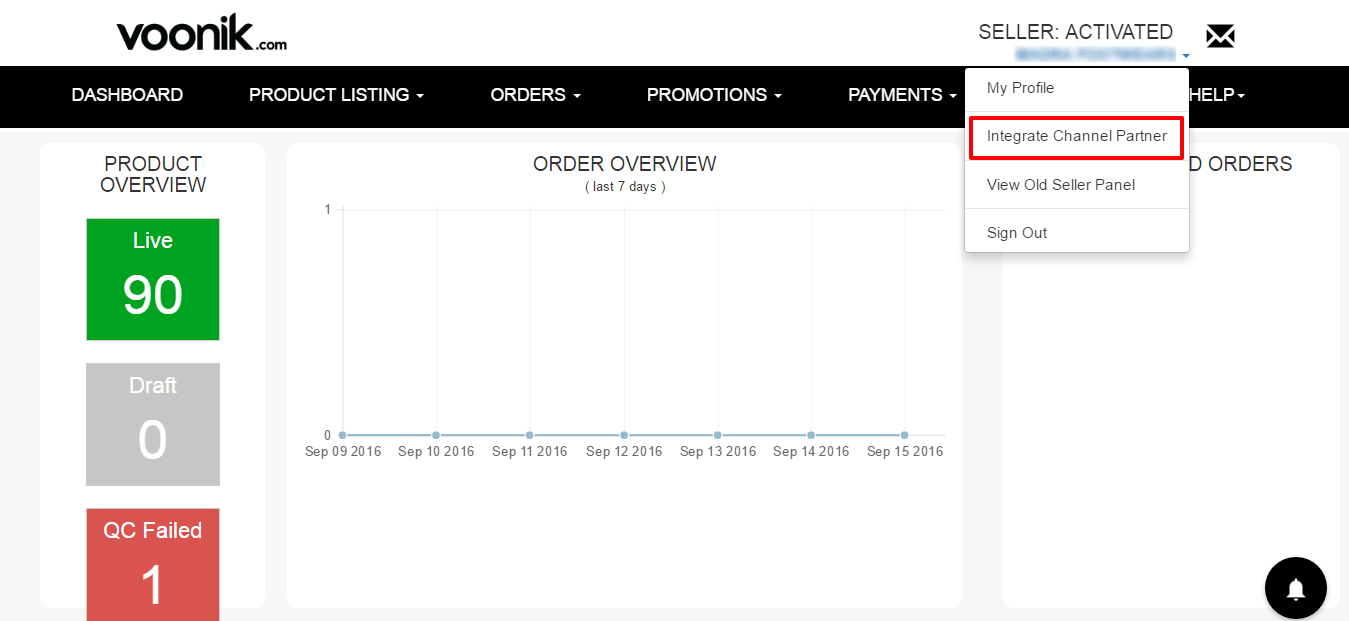
- Login to Voonik Seller Panel and Click on dropdown provided next to Seller Name.
- Click on Integrate Channel Partner to select the Channel Partner.
- Click the radio button provided in front of Browntape and click on Submit

- Once submitted the Seller's Marketplace key for the selected channel partner will reflect, copy this key.

- Go to Voonik channel settings on Browntape and paste the Voonik marketplace key in the Voonik Vendor/Merchant Code

That's it, you’re done! Now orders from your Voonik store will sync with Browntape automatically.
Related Articles :